How to make a Theremin
While reparing a radio transmitter Leon Theremin (1896-1993) found out that he could manipulate the pitch of the sound. 10 years later he moved to America where he develop his Theremin – the first electrical musical instrument. But only when imprisoned as alleged Russian spie Theremin could perfectionize the instrument.
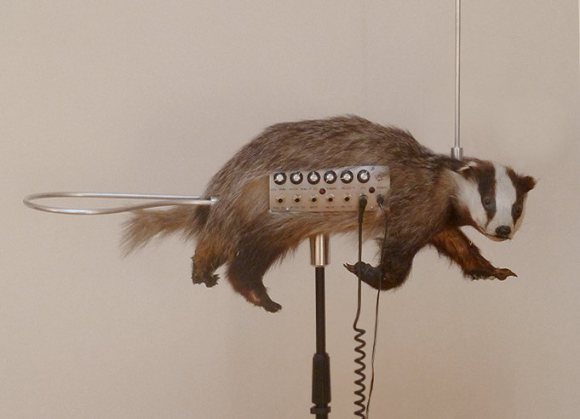
The instrument
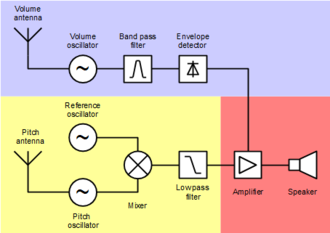
1 antenna for pitch
1 antenna for volume
Instructions on how to make a Theremin
Notes taken by Tijmen during Andrey Smirnov's workshop about Theremin making
Two options
To create your own theremin you have two options:
1. The basic way
This version only uses the sensor board (recognisable by its 6 pins on one side, and 2 on the opposite side). Connect it to power (9 volts battery) and to the audio input of your laptop. Then you only need to load a PureData or MaxMSP patch file on your laptop.
2. The advanced way
In this scenario you attach the Arduino-compatible sensor board (recognisable by the 8 pins sticking out the side, and 2+4 pins sticking up) to your Arduino board. In this case you have to load a file onto your Arduino, and on your laptop open the patches for PureData or MaxMSP.
Why would you want to go for the advanced way?
- The advanced way has less lag than the version that uses the audioport. It responds to your hand a bit quicker.
- The advanced way allows you to add multiple channels to the Arduino version.
- The advanced way also allows you to easily explore MIDI-output, and more.
Available theremins
In the listed folders you can find files for different projects. Load the file you’re interested in into PureData or MaxMSP. If you are using an Arduino, also load the corresponding file onto your Arduino.
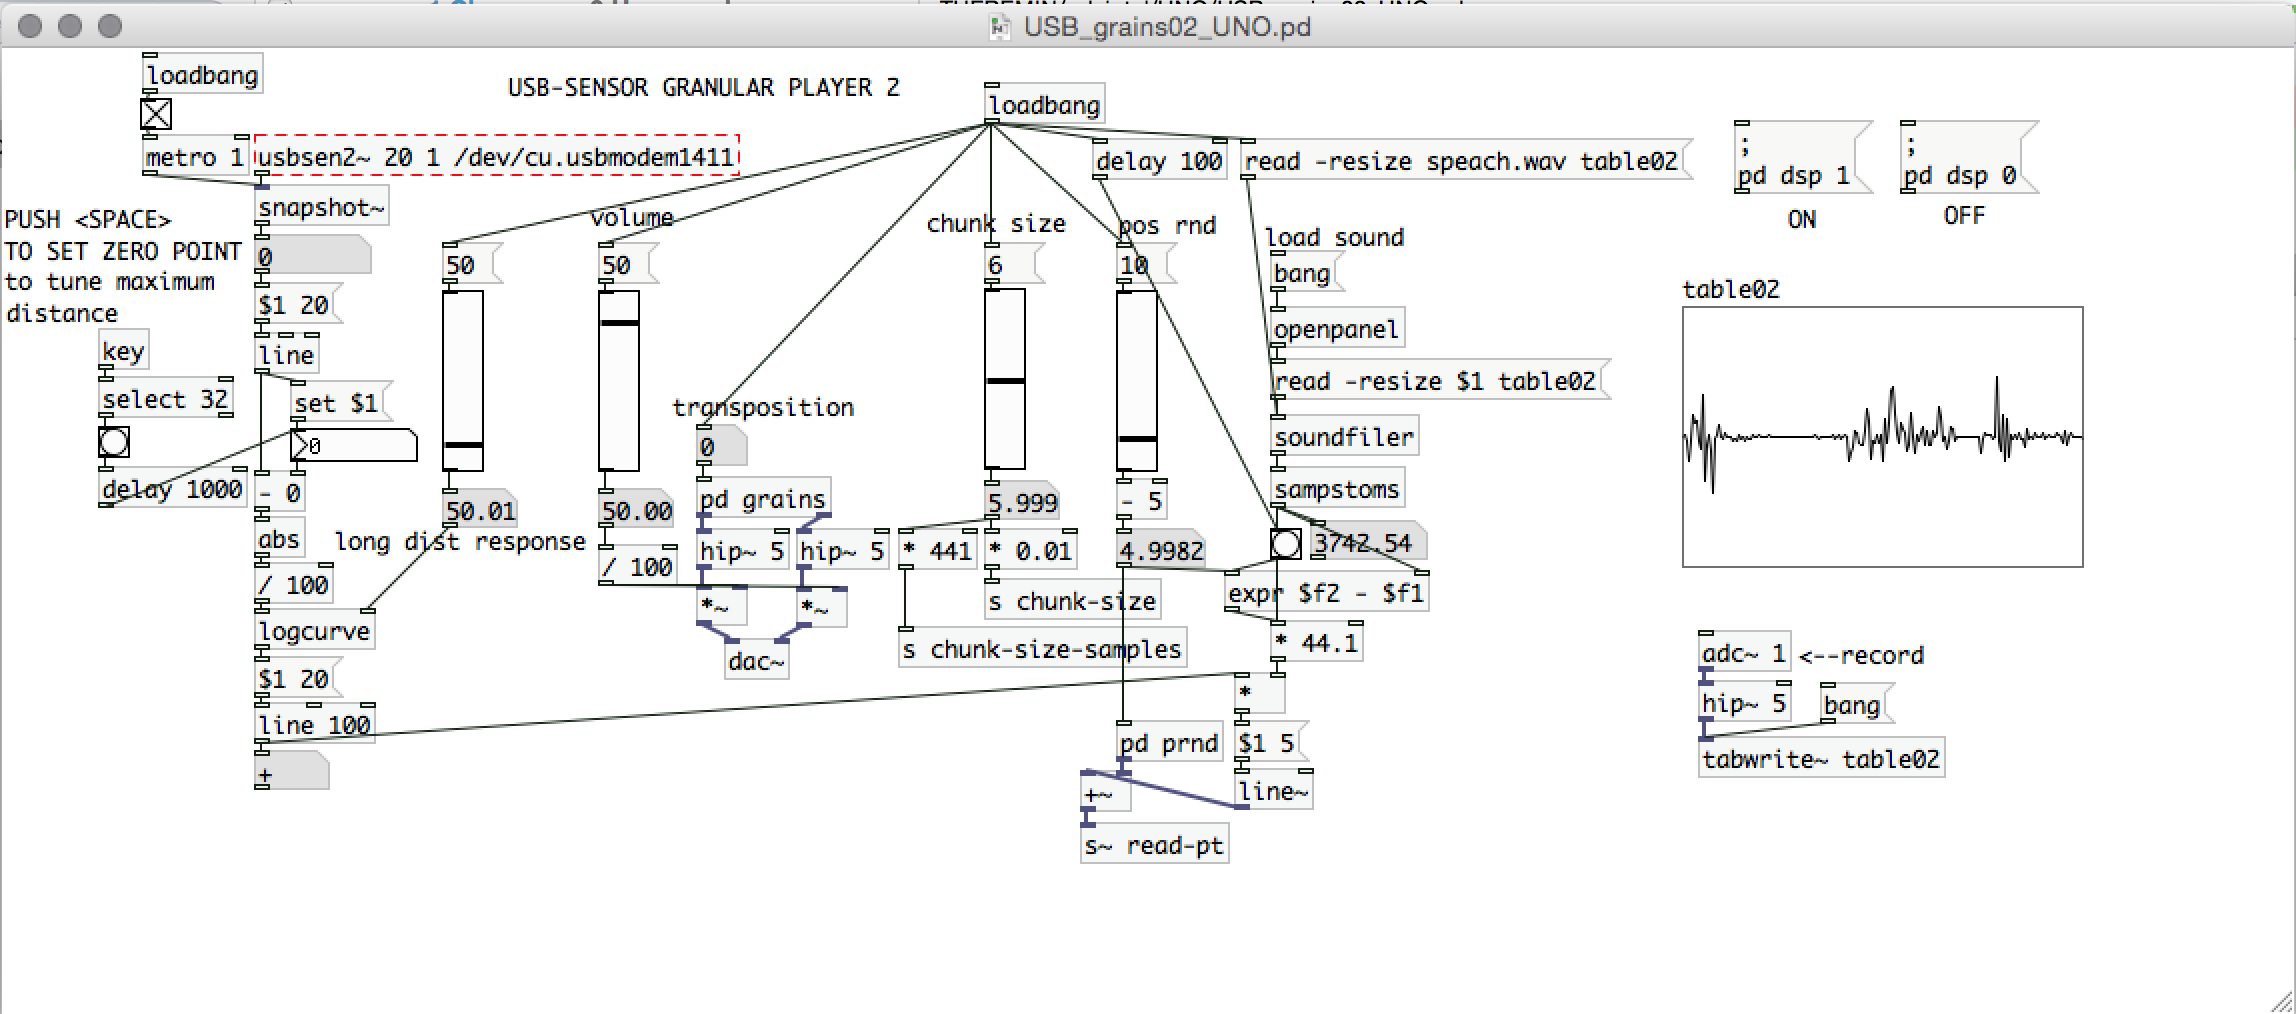
USB Grains 1 & 2
For scratching sound files. You can freeze in any point of the selected sound file by moving your hand to a certain distance from the theremin.
USB Inst1x2
A basic patch to explore multichannel installations. Explore this file if you want to learn how to add even more channels.
USB Scaleplayer
To play scales in different tunes. Instead of a continuous change in pitch of the sound, it plays only separate notes. It’s like playing a piano with one finger, or Auto-tune for your theremin.
USB Scaleplayer x2
Similar like the patch above, but for 2 inputs. It’s like playing a piano with 2 fingers.
USB SFPLayer
Soundfile player. Load up multiple sound files, and then skip through the different files by varying the distance to the theremin.
USB th02_demo3
An experimental combination of different patches. It plays fixed pitches, like a piano.
USB Theremin 0
This is the best patch to start with. It’s single channel
USB Theremin x2
This is like the patch above, but supports two channels, so pitch and frequency can be manipulated. This patch is most like the “classic” theremin you see in the media.
USB Theremin000_UNO
Similar to the Theremin 0 patch, but is used for testing. The difference is that the signal isn’t smoothed, so the sound is rougher.
Step by step
Download and install software
- PD Extended (or MaxMSP if you prefer)
- Arduino (and check if you need extra driver)
Setting up the hardware
Arduino
- Attach Arduino to mac
- Startup Arduino software
- change settings if necessary:
- Tools -> board
- Tools -> port
Make a note of the text at the bottom of your Arduino window, which should be something like “Arduino Uno on /dev/cy.usbmodem1421”
Plug in the board
Plug in the theremin Arduino shield board. Plug it in to that the four data-pins are plugged into A1 through A4.
The two power pins should then automatically be plugged in to 5V and GND, so the shield board is powered.
There are 8 pins sticking out of the side of this shield board.
The ‘top’ of the board is now the ground (of more technically: the pins attached to the outside of the shield board are the ground)
Connecting the sensor board
We’ll have to make a wire connection between the two boards. First connect a two-core wire to the two pins that are furthest away from the USB-input of the Arduino. Connect it vertically.
Make sure the wire connecting to the ground of the Arduino-shield is also connected to the ground on the sensor board. (if we number the 8 pins as 4 vertical sets, then set 1 is closest to the round voltage regulators. Using this numbering, you are connecting to set 4)
If we number the pins on the sensor board 1 to 6, number 1 being near the round voltage regulator part that sticks out, then pin 2 is the ground, and pin 1 is the data. Connect the wire to these two pins.
The little red light should turn on on the sensor board.
The hardware part is now done, congrats!
Software
Open PD
- Load a patch you’re interested in. In my case I’m using a mac, so I tried this starter file:
- PD-Intel -> UNO -> USB_theremin1_UNO.pd*
Once loaded, you need to do a few things:
- In the menu, under Media check if DSP is set to ON.
- In the patch you have to change one variable, namely the USB Modem port. Under the “edit” menu select “edit mode”. Now find the part that reads something like “/dev/cu.usbmodem121” and change that into the variable you found (and hopefully wrote down) form the bottom of the Arduino software. When done, disable Edit Mode by once again selecting it.
- In theory you should now see data coming in from your theremin. Do you see numbers changing as you move around the sensor?
- Keep the sensor away from yourself or electronics, and press the space bar. the theremin is now calibrated.
- Finally, increase the volume. Drag the thick vertical black bar at the bottom of the patch (where it says “theremin volume”) and drag it to the right.
Your theremin should now be working.
- Find the files here: github.com/hackersanddesigners/HDSA2015/tree/master/THEREMIN
- More about the custom made sensors here: asmir.theremin.ru/theremin-sensors.htm


