Chattypub: Difference between revisions
No edit summary |
No edit summary |
||
| Line 26: | Line 26: | ||
<tool user="hackersanddesigners" repo="chatty-pub" file="readme.md" /> | <tool user="hackersanddesigners" repo="chatty-pub" file="readme.md" /> | ||
<tool user="hackersanddesigners" repo="chatty-pub-css-slides" file="readme.md" /> | <tool user="hackersanddesigners" repo="chatty-pub-css-slides" file="readme.md" /> | ||
<tool user="hackersanddesigners" repo="hdsa2019doc" file="readme.md" /> | |||
Revision as of 15:31, 21 October 2021
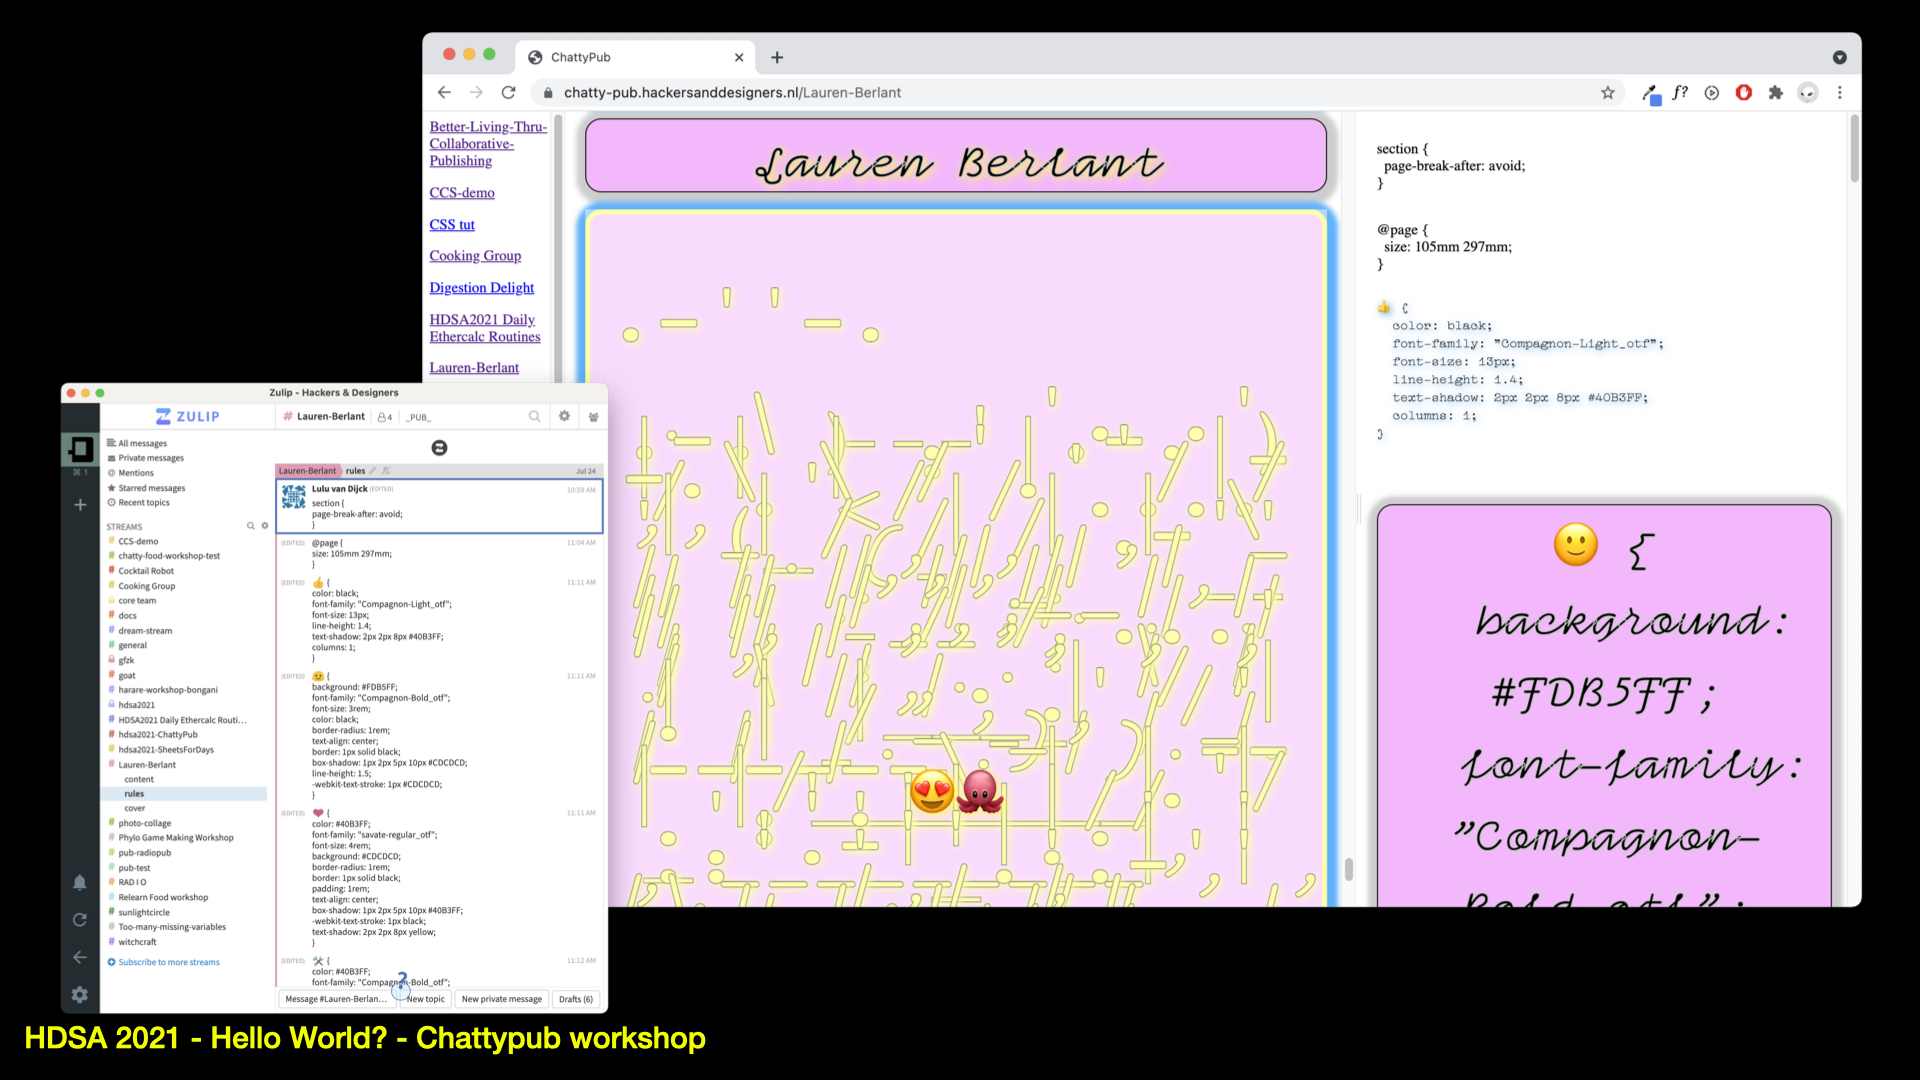
ChattyPub is a design tool in the making – leveraging a chat interface (Zulip) to apply styles and formats to the content of a publication. The tool is activated and further developed through workshops. The workshops explore, in a practical manner how a process of co-designing a publication unfolds, specifically when several people are designing at the same time using a chat interface. With the workshops H&D would like to both – open up the process of making this tool, and explore together its possibilities and limitations, and build community around it coming-into-being.
Chat pub tool (first tested during the H&D Summer Academy 2021
and later presented and tried out at GfZK Dig-it
HDSA 2019 videodoc generator
Description
This script takes all the videos in a specified folder and uses parts of these videos to generate a random video of the specified length.
Installation
Not necessary but preferred. Create a environment for this project. I use conda:
conda create -n hdsa19doc python=3.7.3
conda activate hdsa19doc
Then install moviePy and GamePy (for sound or previews I think)
pip install moviepy gamepy
Input videos go in /input. Allowed types: .mov, .m4v, .mp4 Run the script:
python generate.py
optional arguments:
  -h, --help            show this help message and exit
  -d DURATION, --duration DURATION
                        Duration of output file
  -m MAX_SEG_LENGTH, --max_seg_length MAX_SEG_LENGTH
                        Max segment length
  -o, --open            Open the output file on finish.
  -t TEXTFILE, --textfile TEXTFILE
                        Path to textfile. Overlay the video with lines from
                        input text file.
  -b BRANDING, --branding BRANDING
                        Path to video. A part of this video will be overlaid
                        on the main composition.
  --title TITLE         Path to video/gif. Title overlay.
  --logo LOGO           Path to video/gif. Corner logo overlay.
Example:
python generate.py --duration 60 --max_seg_length 10 --open --textfile words.txt --branding branding/Short\ movie\ 16x9.mov --title images/opening.gif --font KronaOne
Links
- MoviePy Github: https://github.com/Zulko/moviepy
- MoviePy documentation: http://zulko.github.io/moviepy/
Other references:
Other interesting video libraries/languages:
- https://lang.video/
- http://www.vapoursynth.com/
To get MoviePy/imagemagick to recognize your fonts on Mac I had to modify this script a bit: https://github.com/testdouble/imagemagick-macos-font-setup
First install the script with: npm i -g imagemagick-macos-font-setup
Then:
#!/usr/bin/env bash
# Find our path via npm because BASH_SOURCE won't work under npm scripts… ಠ_ಠ
DIR="$(npm ls --global --parseable imagemagick-macos-font-setup)"
TYPE_GEN_SCRIPT="$DIR/vendor/imagemagick_type_gen"
echo "<----- Ensuring $HOME/.config/ImageMagick exists"
mkdir -p "$HOME/.config/ImageMagick"
echo "<----- Writing font definition to $HOME/.config/ImageMagick/type.xml"
find "$HOME/Library/Fonts" -type f -name '*.ttf' | "$TYPE_GEN_SCRIPT" -f - > "$HOME/.config/ImageMagick/type.xml"
Save the above as a .sh script and run it to create a Font list in ~/.config/ImageMagick/type.xml
To see which fonts ImageMagick recognizes: convert -list font


