Text reproduction with machine learning
| Text reproduction with machine learning | |
|---|---|
| Name | Text reproduction with machine learning |
| Location | De Bonte Zwaan |
| Date | 2018/07/31 |
| Time | 10:00-17:00 |
| PeopleOrganisations | Moritz Ebeling |
| Type | HDSA2018 |
| Web | Yes |
| No | |
In the era of data, intelligence and computing, the authenticity of any digital content is not longer guaranteed. With machine learning technology, a human voice can be imitated, a moving image can be manipulated in real time, texts can be phrased by using raw data. All to make up something „real“. To get a glimpse of what’s going on, we built our own deep learning network! In this workshop, we trained a given neural network on original text to reproduce it, remixed it, produced more of it. Sometimes the output was complete rubbish, sometimes the algorithm repeated passgages from the original. But certainly it invented or rehashed content based on the given input, so who is faking whom?
This workshop was fun for beginners and pros!
For this workshop we needed:
- A computer + power plug
- To know where to find your computer’s Terminal or Console
- To have Python 3.6 installed (1)
- We used Tensorflow, so if you’re cool with Python, you could install it on forehand, otherwise we did it during the workshop or in advance.
- Text material that you wanted to feed the machine with. This could be text that you had written yourself or found somewhere. Short text passages were internalized by the machine very quickly. Some brought excerpts, a few pages or a book. The texts were remix, reproduce and produce more of. Some texts that were used: The Communist Mannifesto by Karl Marx, the scripts from all Harry Potter movies, The Cyborg Manifesto from Donna Haraway, some newspapers headlines. We needed the text in .txt files, but you can use formats like Markdown or XML like syntax to define headlines, paragraphs, bullet points, quotes. You can format the text however you like, as long as it's in one or many .txt files.
(1) For beginners, this is a quite heavy task to either find out which version you have installed or to update to version 3.
Basic preparation
This workshop requires a few preparations. Please follow the instructions to get started. You also can find this page on hd18.moritzebeling.com.
- Install Python 3.6
- Python is a programming language widely used in the field of machine learning. It can be run from the Terminal in order to execute scripts and programs. There is also a small Python introduction from a previous H&D Event.
- Currently, two non compatible versions of Python exist, the discontinued version 2.7 and the current version of 3.7. To use Tensorflow, we will need at least version 3.3, but not higher than 3.6!
- To continue with the following steps, please open your Terminal window.
- Which version do I have?
$ python -V
If that returns something in between 3.3 and 3.6, everything is good and you don’t need to continue reading this page.
However it is possible, that it returns 2.x even if you have the disired version installed. To be sure, type
$ python3 -V
- Downgrading from 3.7 to 3.6
You will first have to uninstall any version higher than 3.6.x. If you installed Python from the installer package (I’m sorry!), find Python 3.x in your applications folder, move it to the trash and then carefully type
$ sudo rm -rf /Applications/Python\ {version.number}/
- Installing Python3 on a Mac
You find the (now correct) installer on the official website. Confirm by checking for the version again. If everything is fine, you might want to continue with installing Tensorflow.
- Changing alias
Type if you want the command python to interpret python3 instead of some old version, please type
$ alias python=python3
However, the effect of this action might not last forever and be undone soon for some reason.
- Install Tensorflow 1.8 or 1.9
- Tensorflow is one of the most used software libraries for machine learning. It is developed by Google and can be used with Python. Current version is 1.9.
- Do I have Tensorflow?
- To find out wether you have Tensorflow installed and which version you might have, type
python3 -c 'import tensorflow as tf; print(tf.__version__)'
If that throws an error saying somethin with invalid syntax, please check for your Python version and downgrade.
- Installing Tensorflow on a Mac with pip
Pip is a Python package manager that let’s you install Tensorflow and other software. You will need pip3 with version >10. Please check your version with:
pip3 -V
- Upgrading Pip3
Current version is 18, so you might (or will have to) upgrade. Please try one of those:
$ pip3 install --upgrade
$ sudo pip3 install --upgrade
Then check if installation was successfull by checking vor the version again (see above). Then try installing Tensorflow again.
- Now install Tensorflow:
$ pip3 install tensorflow
If that seemed to be successful, confirm the installation by checking for the version (see above). If not, continue with step 2 from this installation guide.
Error "Could not find ..."
This error seems to be quite common. Then try
$ sudo pip3 install --upgrade https://storage.googleapis.com/tensorflow/mac/cpu/tensorflow-1.9.0-py3-none-any.whl
This command can also be used to upgrade your version of Tensorflow.
- After installation
Check for the version again to assure, that Python and Tensorflow are working nice together.
- Other ways of installing
Here you find the official install guides for various platforms.
- Other resources
- Some official Tensorflow tutorials to get started with.
- Archive of tested Tensorflow models on GitHub.
- Uninstalling Tensorflow
Try these commands
$ pip uninstall tensorflow $ pip3 uninstall tensorflow
Install the neurual network
Create a working directory
- Create a new directory that you want to work in, e.g. my-folder.
- Copy the Neural Network folder from the USB drive into the folder that you just created. Rename it as you wish, e.g. tensorflow. Your directory now looks like this:
~/my-folder/ • other stuff that you may have here • tensorflow/
   •   _model/
       A folder with the machine learning model inside. You don’t have to do anything here.
   •   rnn.py
       The program that trains and plays the neural network. You can open it to adjust parameters, but you can do that later
   •   my-new-project/
       •   input/
           •   your-input-data.txt
- my-new-project is a project directory. For now it only contains en empty input folder. There you can paste your input .txt file. Later your project directory will also contain all training checkpoints, logs and generated outputs. For every new project you want to train on, you should create a new project directory within the tensorflow folder.
- Now let’s fill that input folder with some input data (= your text(s)).
Run your first neural network, let your computer do the work
- You have Python and Tensorflow installed, you have a folder on your computer that contains the neural network and jour project folder with some training data. Great, lets’ get started.
Open a Terminal window
- And navigate to the folder containing the model (e.g. $ cd ~/path/to/your-folder/tensorflow).
- Run
python3 rnn.py
- The program will first ask you to type in the name of your current project folder. After that, it will ask you wether you want to train or play the model.
- Training
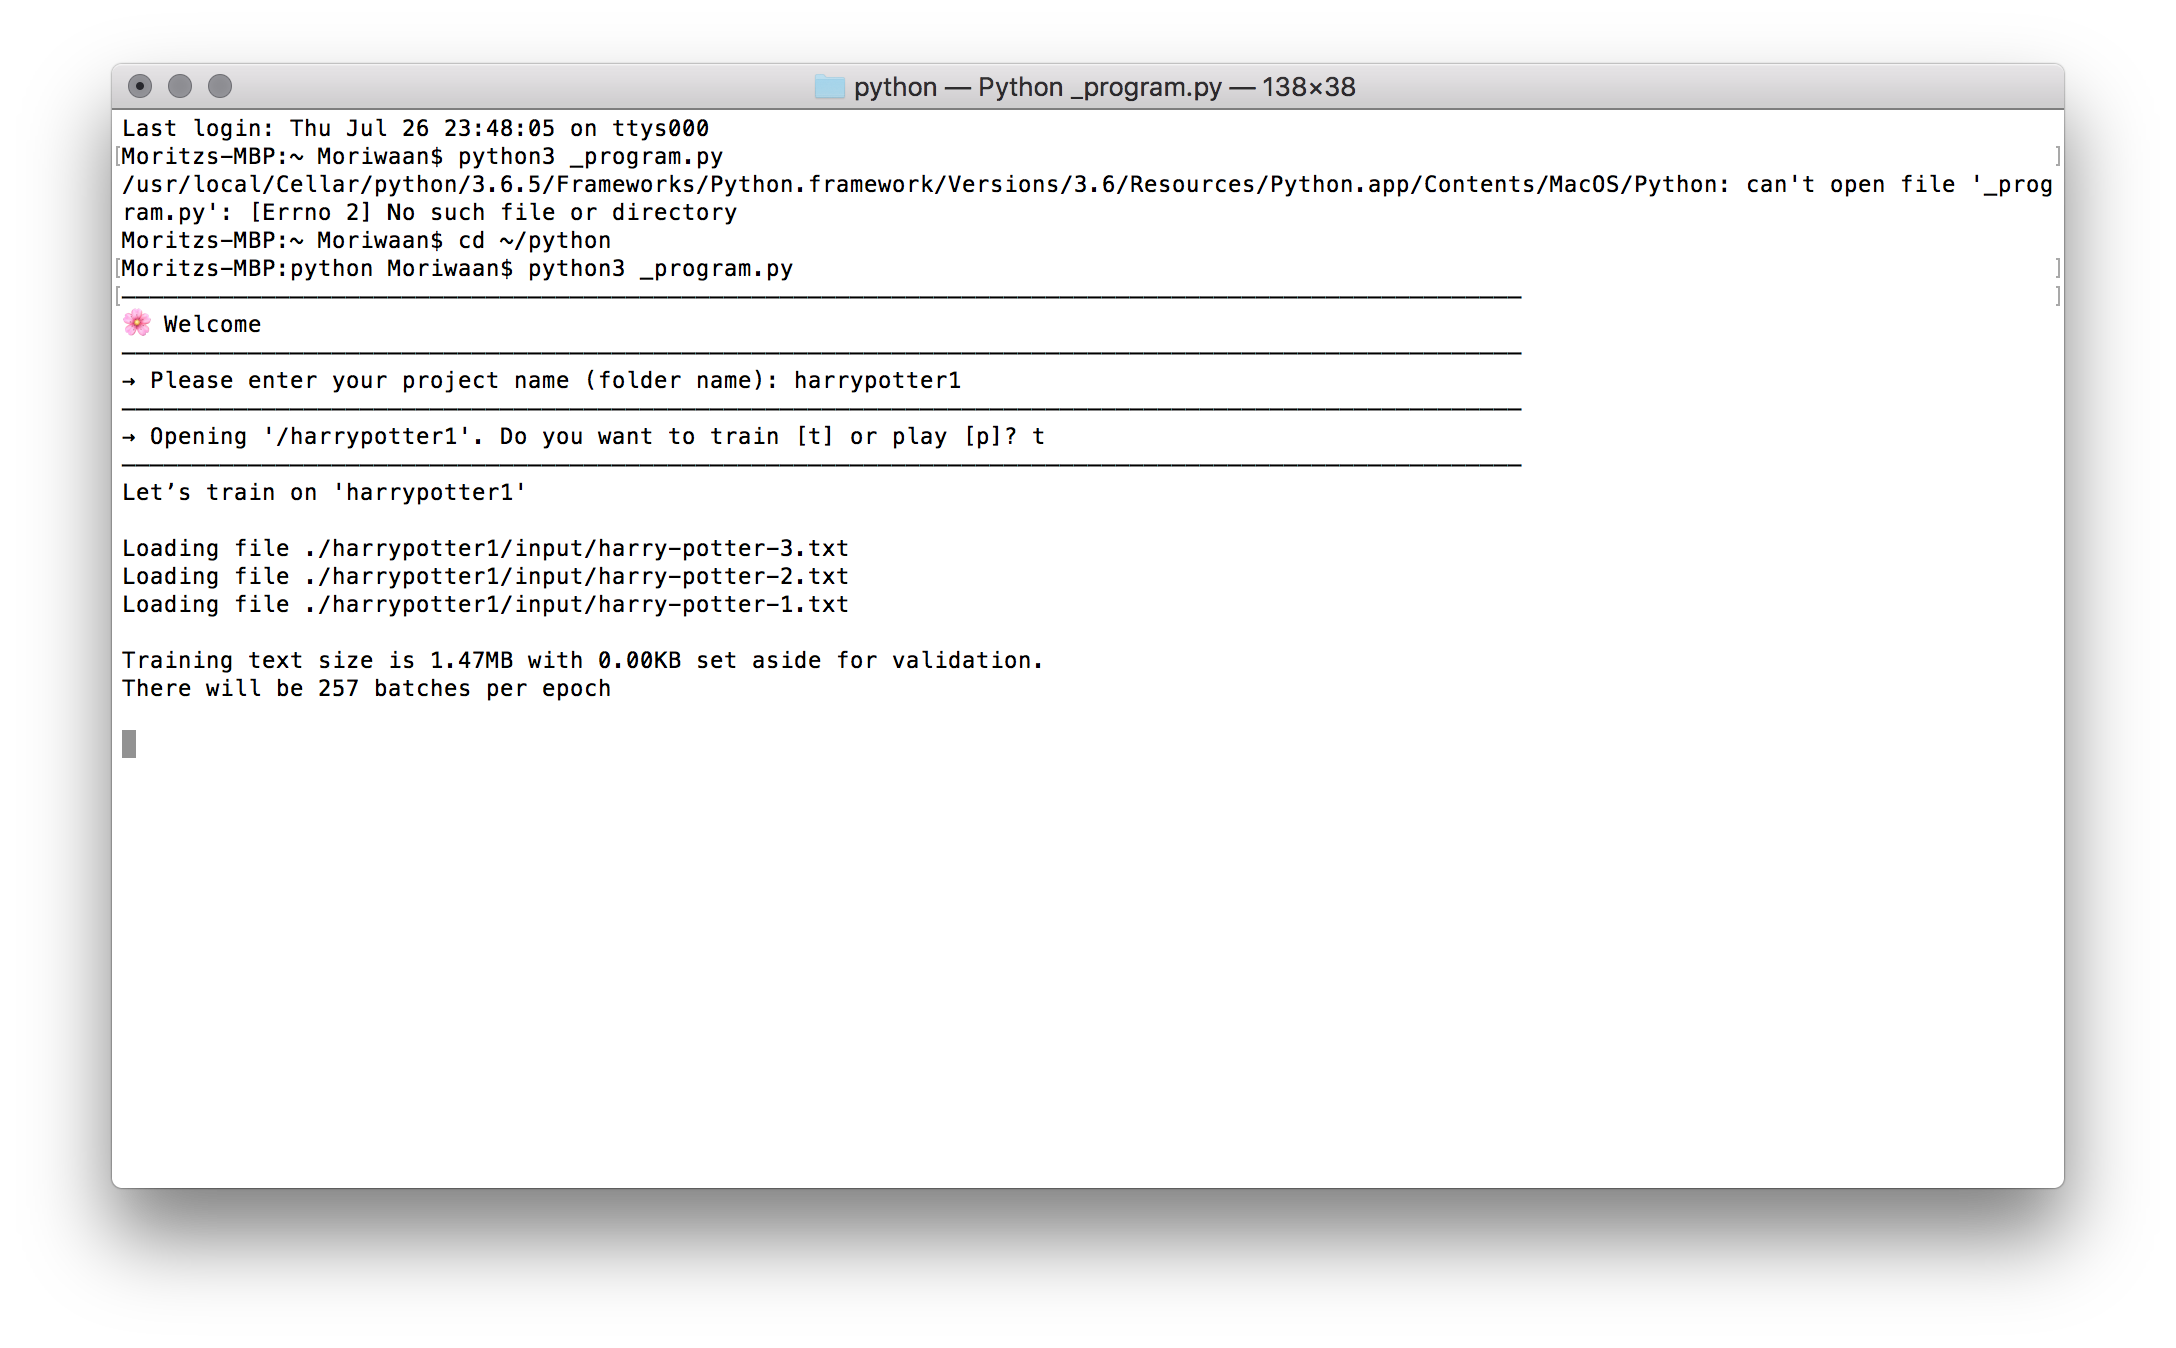
- All .txt files from the input folder will be opened and used for training. During the process, you can see how the network improves its predictions.
- By default, training will run for 500 epochs, but you don’t have to wait that long, you can quit anytime by typing ctrl c.
- Unfortunately it is not possible to continue training from a existing checkpoint. So asure yourself if you really want to stop the training half way. But you can pause the training by switching your computer into stand by mode.
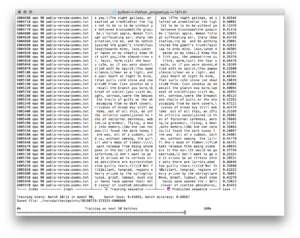
The preview sequence, loss and accuracy calculations as well as regularly generated text blocks give you an impression on how the training progresses.
- Checkpoints
- After every 3rd batch, a checkpoint file of the current progress is saved to my-new-project/checkpoints. They are named usgin the following pattern YYYYMMDD-HHMMSS-(number of training sequences). Every checkpoint consists of 3 files: .meta, .index and .data-00000-of-00001 as well as ther is a checkpoints file containing a list of all checkpoints. You should not rename, move or partially delete checkpoints files if you plan to use any of them.
- Caution
- Your Computer will get hot and use a lot of power, so remove it from any fabric enclosure and attatch to power supply. Let it work 🏋️🏋️
- Depending on your input, we can easily let this run for 1-2 hours. During that time, let’s learn a little bit more about why it is interesting to do all that and what’s is happening behind the scenes.
Options
- If you open rnn.py in your text editor, the file starts with an so called dictionairy of values that you can change to adapt your models behaviour to your specific project.
- Regarding training
sequence_length: 30
   The string length of a training sequence
   If you are training on poetry, where rhyme and the length of lines is really importat, increase a little bit, e.g. 40-50.
batch_size: 200
   Training sequences inside one batch (200)
   The size of one batch is then sequence_length*batch_size, which has to be notably lower than the amount of text input that you provide. In other words, bring more text or decrease batch_size.
validation: True
Wether validation is switched on. Slows down training process
epochs: 500
Number of training epochs.
- Regarding play
output_length: 10000
Length of text to be produced when playing
top_n: 3
   Number of possibilities that are involved in the prediction.
   1 = only the highest scoring possibility makes it, danger of repeating input
   2 or 3 = allows for some variation
   10 = might become rubbish or non-language again
   This value is used for text generation during training and play
}
11:45 What is happening?
12:15 Discussion: What can we do with that?
13:00 Lunch, while the computers are working
14:00 Play and analyse the results
14:30 Free experiments, work, discussions, help, questions
16:00 Prepare and share your results
17:00 Presentation


